In my last post Beach Towel Tablecloth, I mentioned a polka dot project. I am sharing it today as well as how I made the napkin holders for that tablescape.
I did a little decorating for St. Patrick's Day but never got around to posting.
Well, this was the origin of my polka dot project
 |
| The topiaries are set in Plaster of Paris |
I have topiaries that I use all over the house
I wanted to give them a different look but didn't want to paint the pots
I had this fabric for another project and thought this spring color would work for several spring celebrations.
The mathematicians out there
can skip this step!!
I tape several slices (sheets to you) of copy paper together. The "slice" is a family thingie. Nana Diana will understand. I do a little math that doesn't work out. Hey, my grandsons are the geniuses not me. Finally, I measure around the top (under the rim), and cut an arc from the paper. I then measure down, from under the rim, the height of the pot, transfer that measurement to the center of the first arc and create a lower arc on the paper, creating a pattern. This wasn't an exact fit but worked well enough for me to make adjustments. Leave a little extra at top and bottom. I left a lot of extra on the ends. This would be easier if only I had a compass.
I cut two straight strips, yeh! Straight, to fit around the rim plus a little extra and three times the width of the rim.
 |
| This fabric was part polyester, cotton works better. |
After I cut the fabric, I get out my special friend. As you can see, I was a dedicated crafter in my day.
I wet the fabric with water and wring it almost dry. I am just trying to limit the absorption of the glue. I might need the rest for another day.
 |
| I worked on my quartz countertop with no protection, nothing penetates and cleans up with soap and water. |
I use a small bowl and add my white glue and water. I used 3/4 cup of glue and 1/4 cup of water (that was too much solution for this small project). I then place the fabric in the bowl, one piece at a time. I start with the bottom piece. Saturate the fabric with the glue solution, wring lightly and begin to apply to the pot. Smooth any wrinkles and allow the top edge to overlap the rim just a bit. This will give a clean look when I'm finished.
Saturate the straight fabric the same way. I will fold the fabric in thirds, lengthwise. I apply this around the rim and I will have two folded edges exposed. Trim excess. I already decided where I want the back and I overlap the fabric there. Now you can fold or trim the fabric at the bottom of the pot. I folded mine under.
This was the look for St Patrick's Day
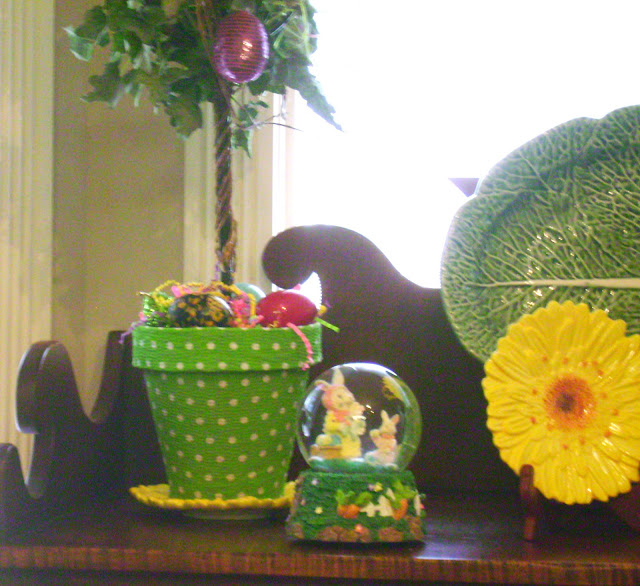
This is how the same topiaries moved into the Easter season.
When I tire of this look, I will hold the pots under hot water and the fabric will come right off.
After that quick look at Easter
Let's make some napkin rings!
EASY!
Buy one pack of shower rings from the Dollar Tree.
Select The flower you want to use. I already had thesel
Cut the stem as short as you can. I was able to shear this one completely off.
I placed one of the leaves (forward) and the others to the sides. I glued the decoration on the opening portion of the ring. It allowed me to have a space to place the embellishments and get a little more glue around them. Glue on your flower and you have a one of a kind napkin ring.
I added a little puffy scrapbooking flower to the center.
And placed it on the table.
Click on the picture to see this tablescape.
I still have enough shower rings for eight more napkin rings.
WHEE!
I hope you enjoyed my take on these craft projects.
Join me at these parties:


