Showing posts with label kitchen. Show all posts

Saturday, August 11, 2012

Katherine's Corner Giveaway

Hope Over To Katherine's Corner
She is having an awesome 
Kitchen Giveaway!
While you are there, visit awhile
and follow.
You will be glad you did
as you will find inspiration galore!

Wednesday, November 9, 2011

Autumn Sideboard

This is a repost 
to join the 
Autumn Decor Party

I hope you enjoy!!
~~~~~~~~~~~~~~
Boy, am I busy around here!
Kim, my oldest daughter, and I are working 
on a BIG ANNOUNCEMENT !
In the meantime Thanksgiving 
is fast approaching. 
 I have been doing a little decorating here and there.
This is the sideboard that sits in my kitchen's bay window. 

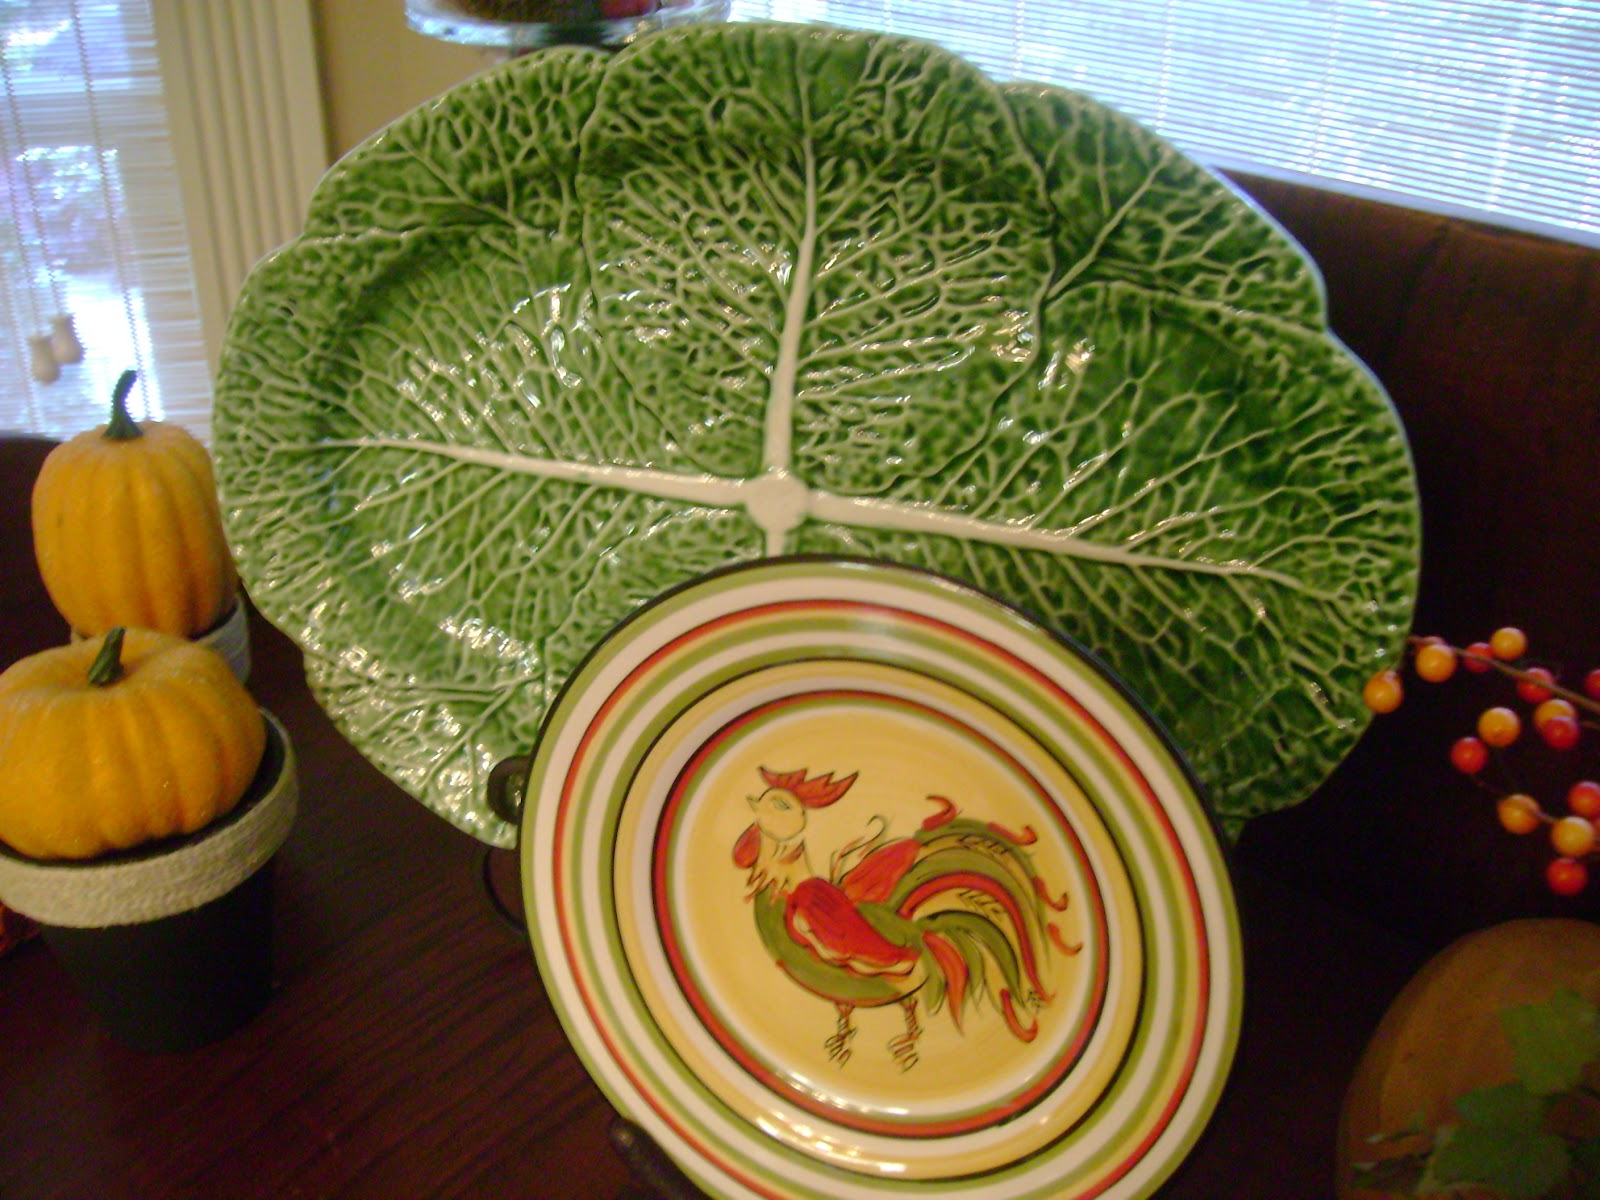
 This darling rooster plate was a gift from our sweet blogger friend Babs of Upstairs Downstairs. I have enjoyed her gracious giveaway gifts. She really started a rooster thing around here. Love the rooster apron! You will see how bad the rooster fetish got, later.
These adorable little pots have poured candles inside. They are painted with chalkboard paint with jute trim. They were a lovely giveaway gift from that creative powerhouse Dee over at A Lapin LifeI have enjoyed these candles and I have actually used the chalk to write little messages on them.
Everything in this vignette was previous decor except the straw turkey. He followed me home from Hancock Fabrics. The tall glass cylindars are normally used as candle holders about the house. This time they are filled with tiny pine cones and faux crab apples, topped off with natural colored candles. 
The container for the arrangement came from Michael's last year. I can't remember where I got the raffia pumpkins, twas so long ago. 
I have several of the strange little pumpkins in front of Tom. I have been pulling at them in an attempt to determine the material. I think they are wrapped corn husks tied in some manner and trimmed to create the pumpkin. 
Anyhoo, I love them! 
A couple of long shots of the sideboard. This is a recent acquisition. Some may remember an old dresser I was using and had intended to refinish. When we found this beauty made of Tiger Maple I was gaga and sold! 
I gave the dresser to Hollie, my youngest daughter. You may remember the old scale, now on the floor. I posted about it at Granny Weighs In.
Just thought I would throw this one in. I think I posted it somewhere else. Rosemary from the garden in a thrifted vase that I posted about earlier. Smells so good in the kitchen. Canned peaches from my friend Marian. Remember her Beautyberry? 
By the way, I installed all the tile you see here, and I designed AND installed the rope trim you see on the bottom of the cabinets (preblog days). 
Here, take another look!!
Professionals installed the quartz counter tops, first year the product was on the market. Love, Love, Love it. Ten years earlier, I bet I could have done the installation!
Enough of the "BS".  I sure hope you enjoyed another glimpse of the kitchen. Please leave one of your sweet comments and visit my party friends listed below. 


Friday, January 28, 2011

WANT EXTRA CABINET SPACE?

YOU ALREADY HAVE IT!!
I'LL SHOW YOU WHERE!

This project was necessitated by the
"Twelve Days of Christmas" gifts
that I shared with you herehere and here.
I desperately needed extra storage.
The week after Christmas Sweet Old Bob helped me execute this project. He was the sawyer.

If you have 36 inch upper cabinets you normally have two shelves. If you have 42 inch cabinets you probably have three. This gives you three or four existing shelf surfaces. You can get at least one extra shelf out of each cabinet, possibly two, with a little planning.
If your cabinets allow you to adjust your shelves, most do, you are good to go. 
First you need some sort of shelving material. A 12 x 1/2 inch stock board is ideal. I already had some 3/4 inch oak plywood scraps so I used that. 
Before cutting, it is a good idea to empty the cabinet. You can use one of the existing shelves to get perfect measurements and this makes getting the new shelf in place with ease. If you need to buy shelving material take your measurements with you. Most home improvement stores will make all the cuts you want.
 Since I used plywood I had a striated edge I needed to cover.

I purchased this veneer edging at Home Depot for about $6.00. It is enough veneer to do my cabinets and every cabinet in blogland. 
Just cut the veneer with an extra inch at each end. Apply according to instructions with a regular iron. I waited a few minutes for it to cool. I then lightly sanded the edges. 
If you use 12 x 1/2 inch plain stock you can skip the previous step(s).
Add a bit of stain to match your cabinets. You probably have some on hand. You can combine stains to achieve the right shade. I only stained the edge.
Isn't that cute. Perhaps a sign of days to come!
Now rearrange the shelves to suit you needs.
Add your extra shelf or shelves.


Congratulations!
 You have just found 25 to 33 percent extra shelf space in each cabinet in your kitchen.

The bottom shelves are the ones I added.
Remember, if you use solid stock the veneer is unnecessary. That would save a lot of time. I already had plywood and I am really cheap. 
After resting a bit, I will be doing every cabinet in my kitchen. Just think how much room I will have for more dishes.
I am linking to the following gracious hostesses. Please link back to them for more inspirational posts.


Hugs, Ginger


Related Posts Plugin for WordPress, Blogger...